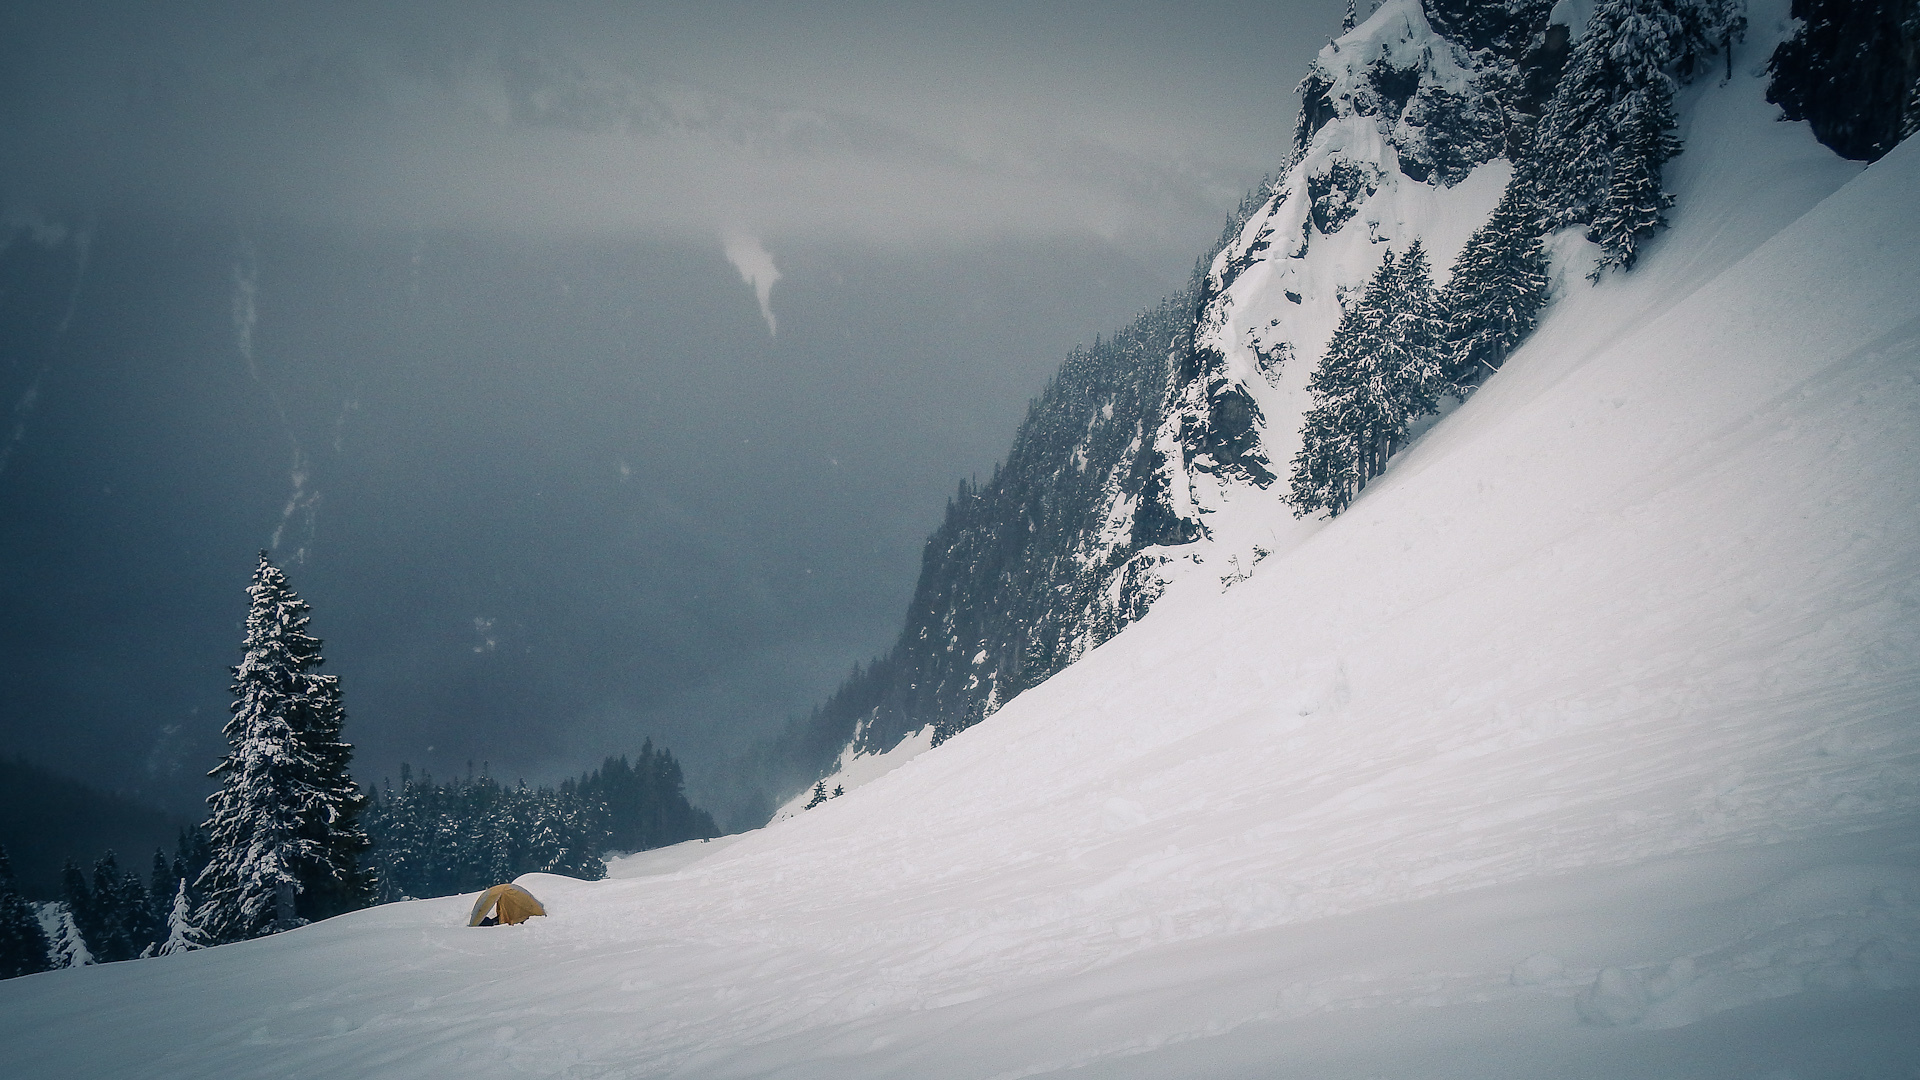
Snow is fantastic. After hiking this past Thursday, I wanted to write up a little article about hiking mountains in the winter/spring, gear, clothing, and a general call to those who seek adventure in the mountains. I want to share my experiences with everyone.
The summit of Denny Mountain
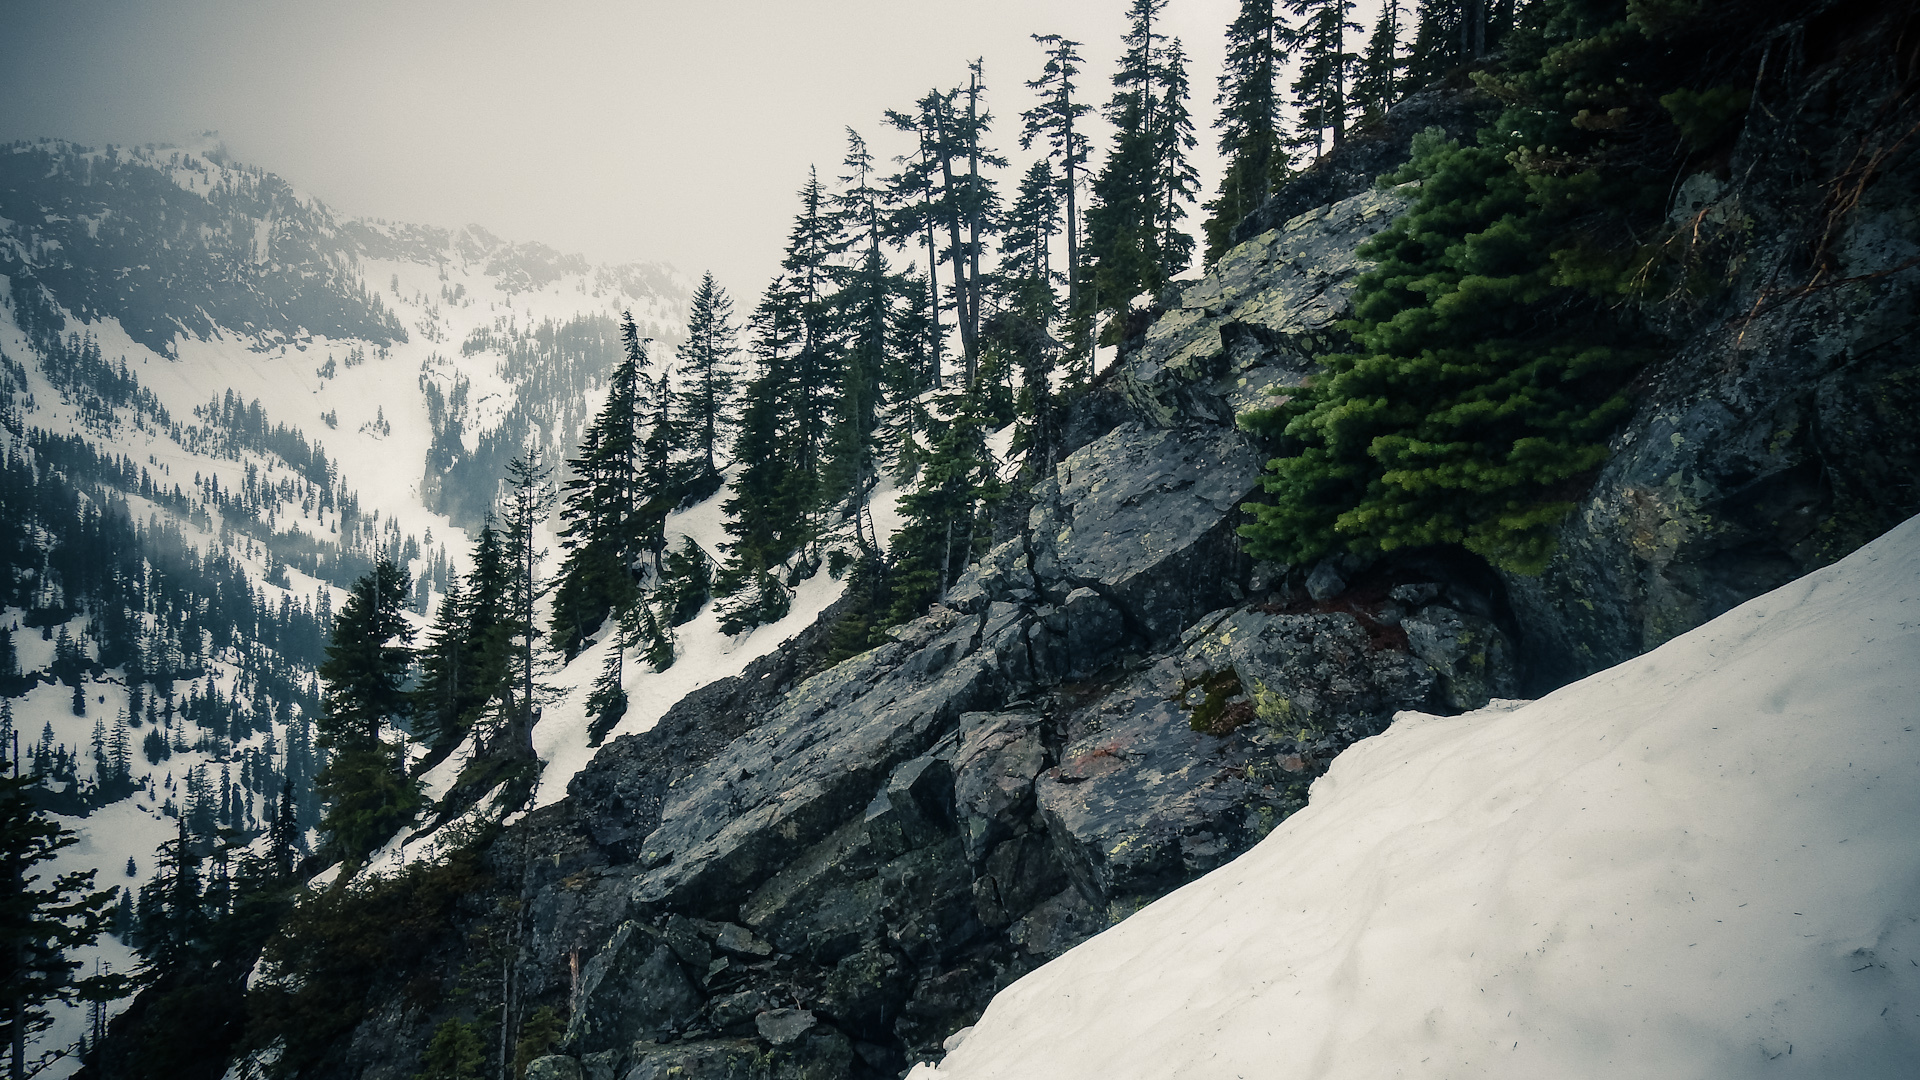
5,000 feet up hiking toward Eldorado Peak. (did not summit due to weather)
It’s been a while since I’ve witnessed the mountains get as cold as they have been lately, let alone hike in it. Temps ranging from -5F to 15F with hard packed icy conditions make things a bit challenging. Both for travel and staying warm. I was looking for a new pair of pants and jacket for this season, but after shopping around I realized I could stay warm for the cost of a single pair of pants or jacket you might look at on a trip to REI. Maybe someday I can justify spending $200-400 for a jacket, but I’d rather shop smart and save. Below is a list, starting with what I wear, optional gear, and the essential gear I never leave without.
As far as general layering is concerned, you need to have a base layer (for managing moisture), Insulating layer (for the cold), and a shell layer (for wind, rain, and snow) No cotton, no jeans, no sweatshirts or t-shirts. You will be miserable. As Les Stroud says, “you sweat you die” There are times where you need to delayer, or put on more. For a more in-depth as what materials are recommended, check out this link: http://www.rei.com/learn/expert-advice/layering-basics.html Winter hiking is my favorite, and requires the most. Here’s my system. I’m skinny, so you may need less.
Tested for warmth at 15 degrees December 5th hiking at Alpental/Denny Mountain. I took advantage of sales, gift cards, and off brand stuff without sacrificing too much. You may already own some of these as I did, just fill in the gaps where you're lacking.
CLOTHING:
Fleece Hat
Fleece neck tube
Under armor top
Long underwear top
Fleece jacket - Columbia Lone Ridge
Insulated waterproof shell - Free Country Soft Shell
Additional thin shell in pack
Long underwear pant
Fleece pant
Insulated waterproof pants - SkiGear Men's Mountain Pant
Wool fingerless glove liners
Waterproof gloves
Thin wicking socks
Wool knee high socks
Waterproof boots - Salomon Snowcat CS WP
TOTAL COST: ~$350
Hiking last year crossing a stable snow bridge across the Snoqualmie river
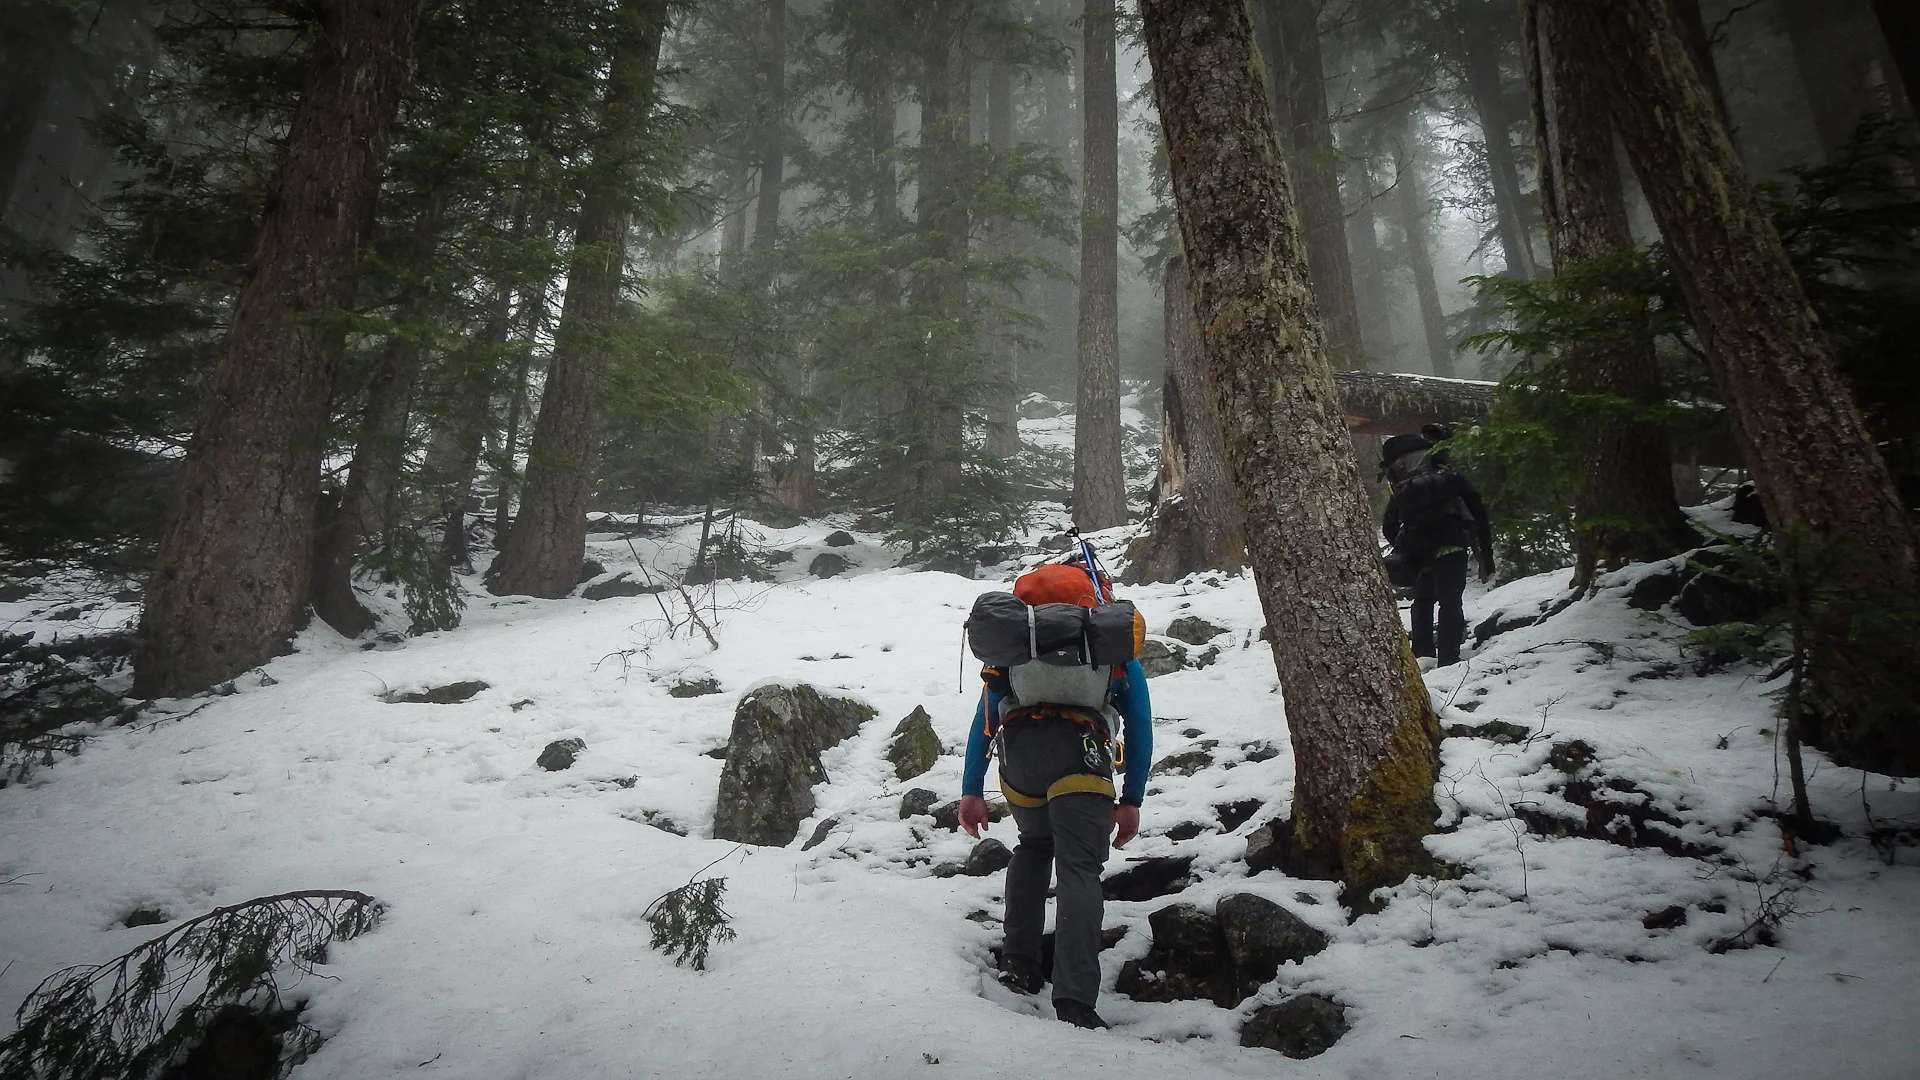
Even with temperatures around 15, I ditched my insulated shell and both gloves till we got about halfway up the mountain. As long as I kept moving I was generally warm enough and didn’t want to sweat too much. Once we stopped for a break and hot tea, I put those things back on.
A photo from early spring at Denny Mountain, a lot less layers needed in this weather
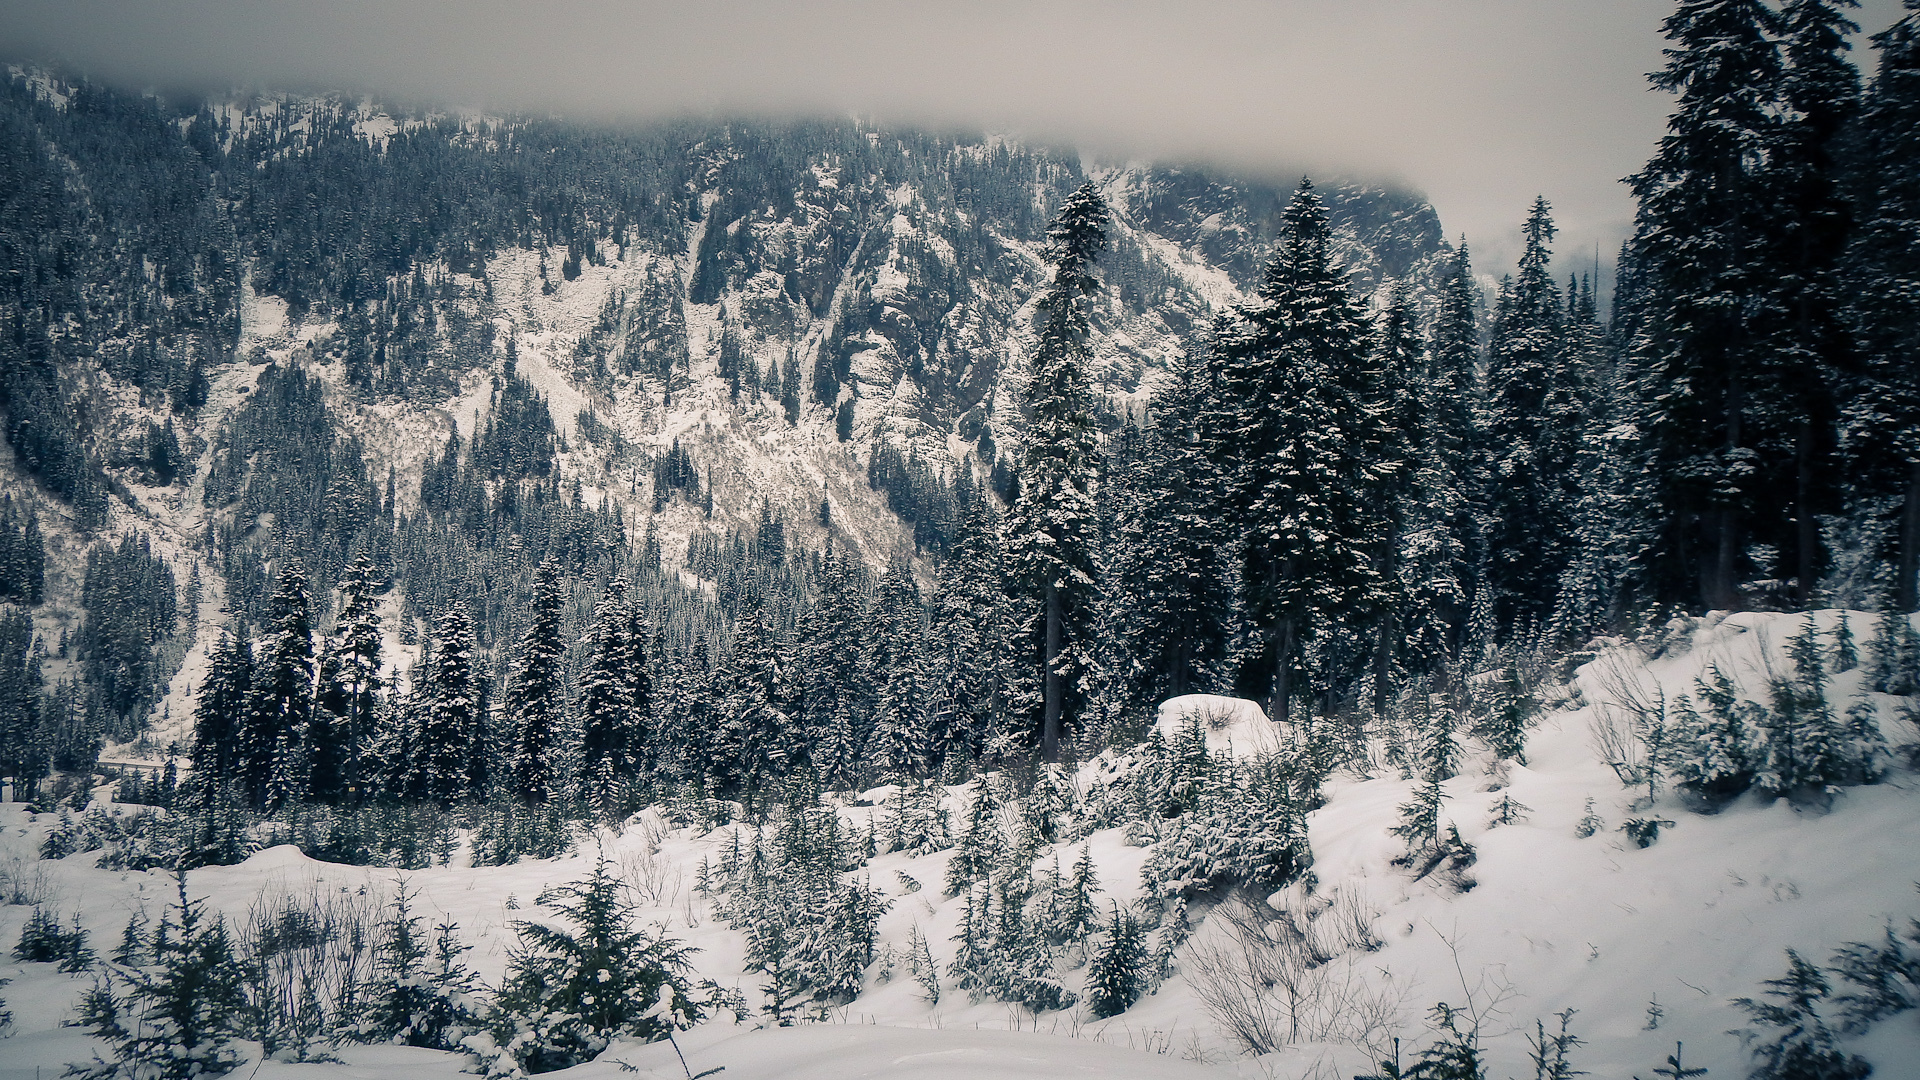
Looking back at the same area as the above photo, but from last thursday.
GEAR:
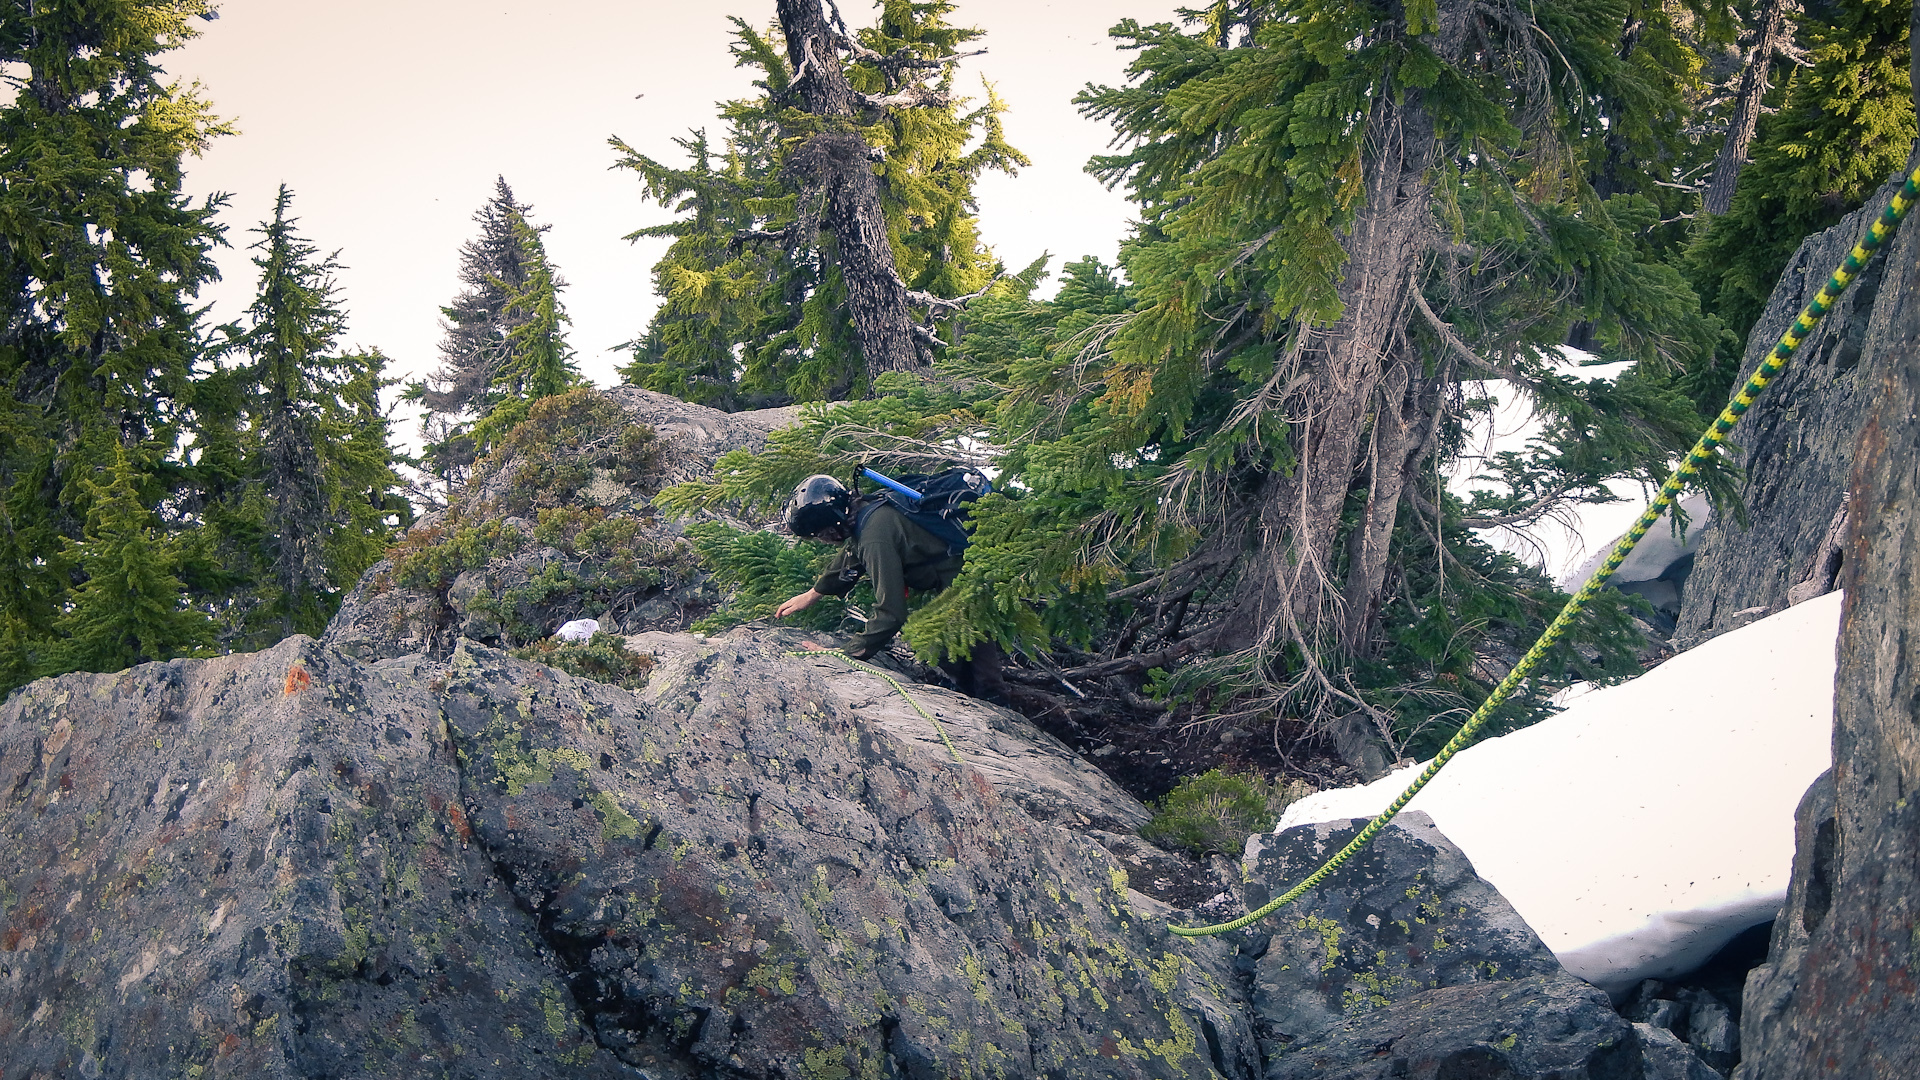
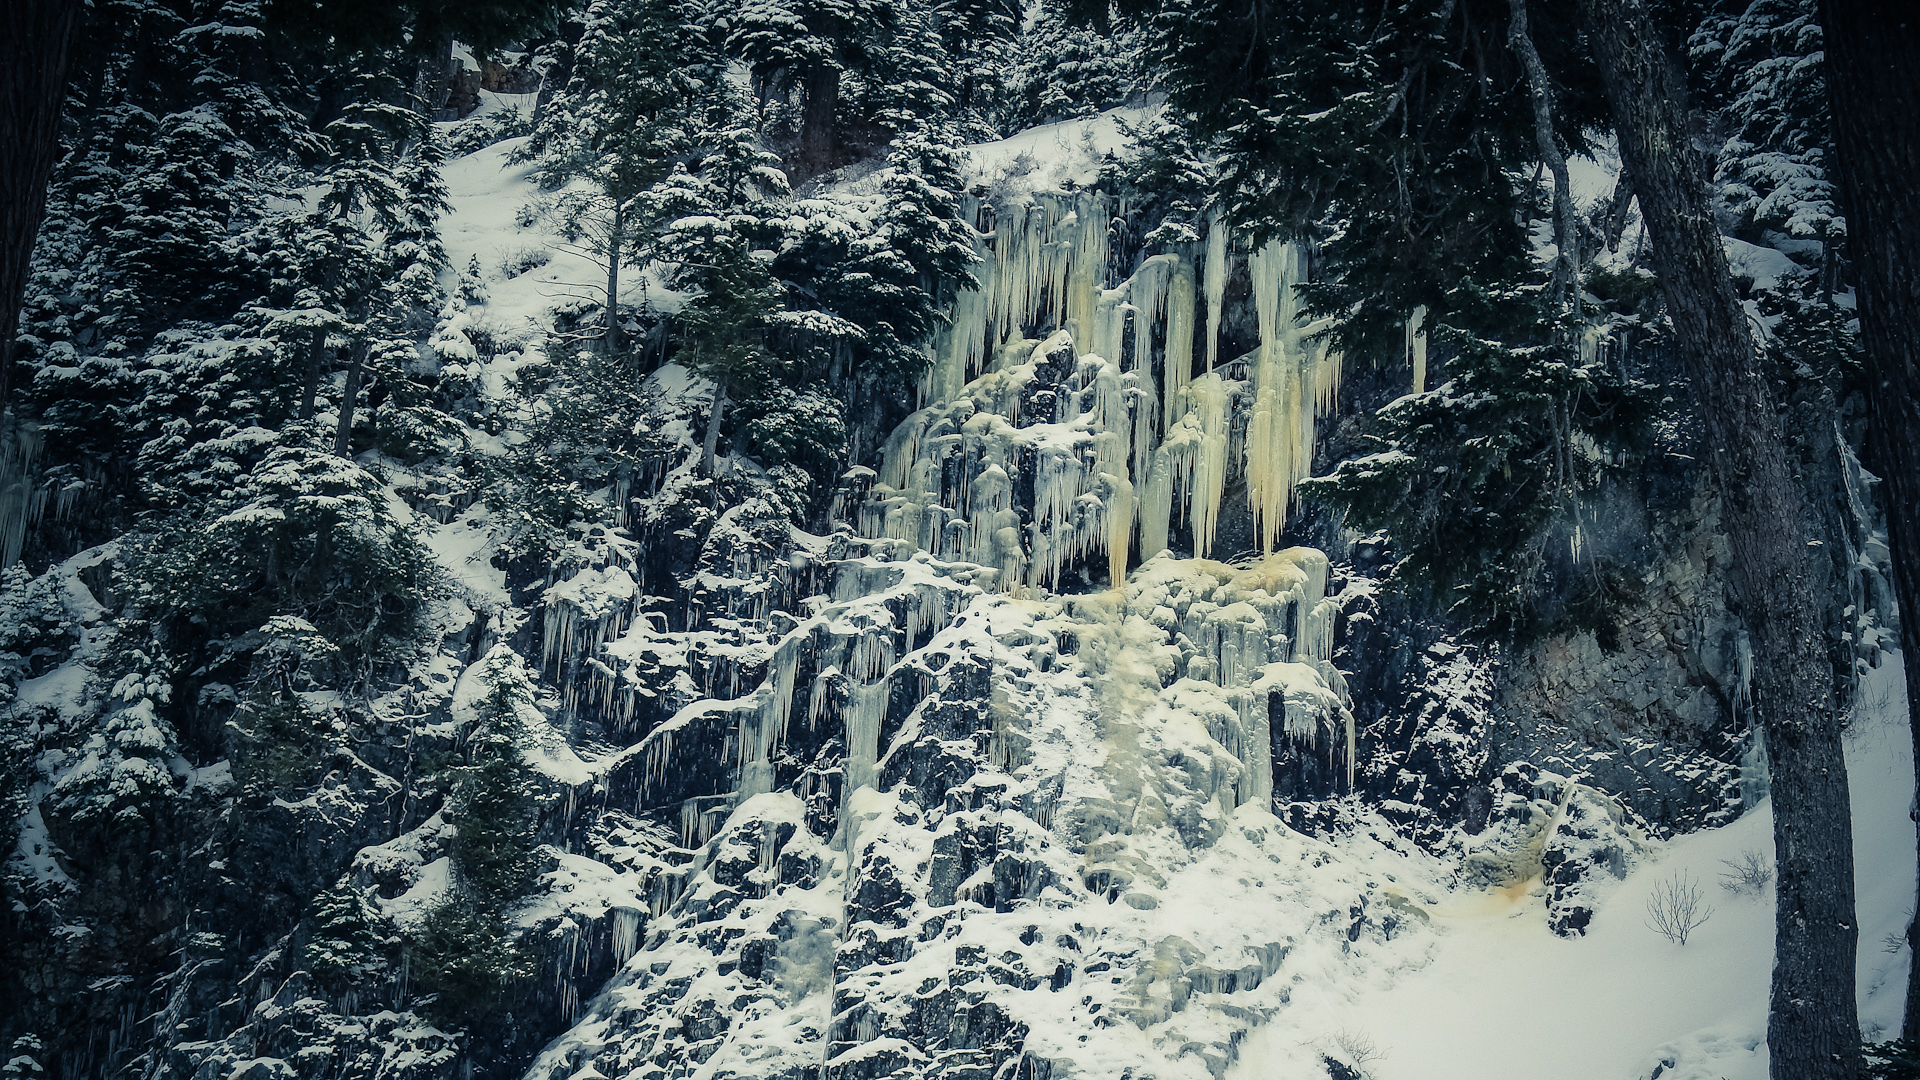
As I stated earlier, I have never seen such cold constant temps in the mountains, the result was about 6 inches of fine grain powder on top of hard pack ice. Ice formations everywhere and some of the largest icicle forests I have ever laid eyes on. (Never had an issue with water bottles freezing till that day either.) Not even 100 yards up the mountain we stopped to put on crampons, and busted out the trekking poles. Once we hit the first major slope we added an ice axe to the mix for more stability and in case of the need to self-arrest. Now, get that mentality of swinging an axe all over the place like you see in movies out of your head. We’re not doing ice climbing or 80 degree slopes. Ice axes/mountaineering axes (straight shaft) are used like a walking stick with the adze facing forward, ready for a proper self-arrest should you slip and start sliding down a slope. As people get more comfortable with steeper slopes, thats where you want to bust out a pair of technical tools, I bought a pair of Petzl Nomics up Guye Peak shown in the below photo. It did make certain moves easier, and I felt more secure and attached to the mountain.
Check out the video below for a great explanation and technique for self arresting.
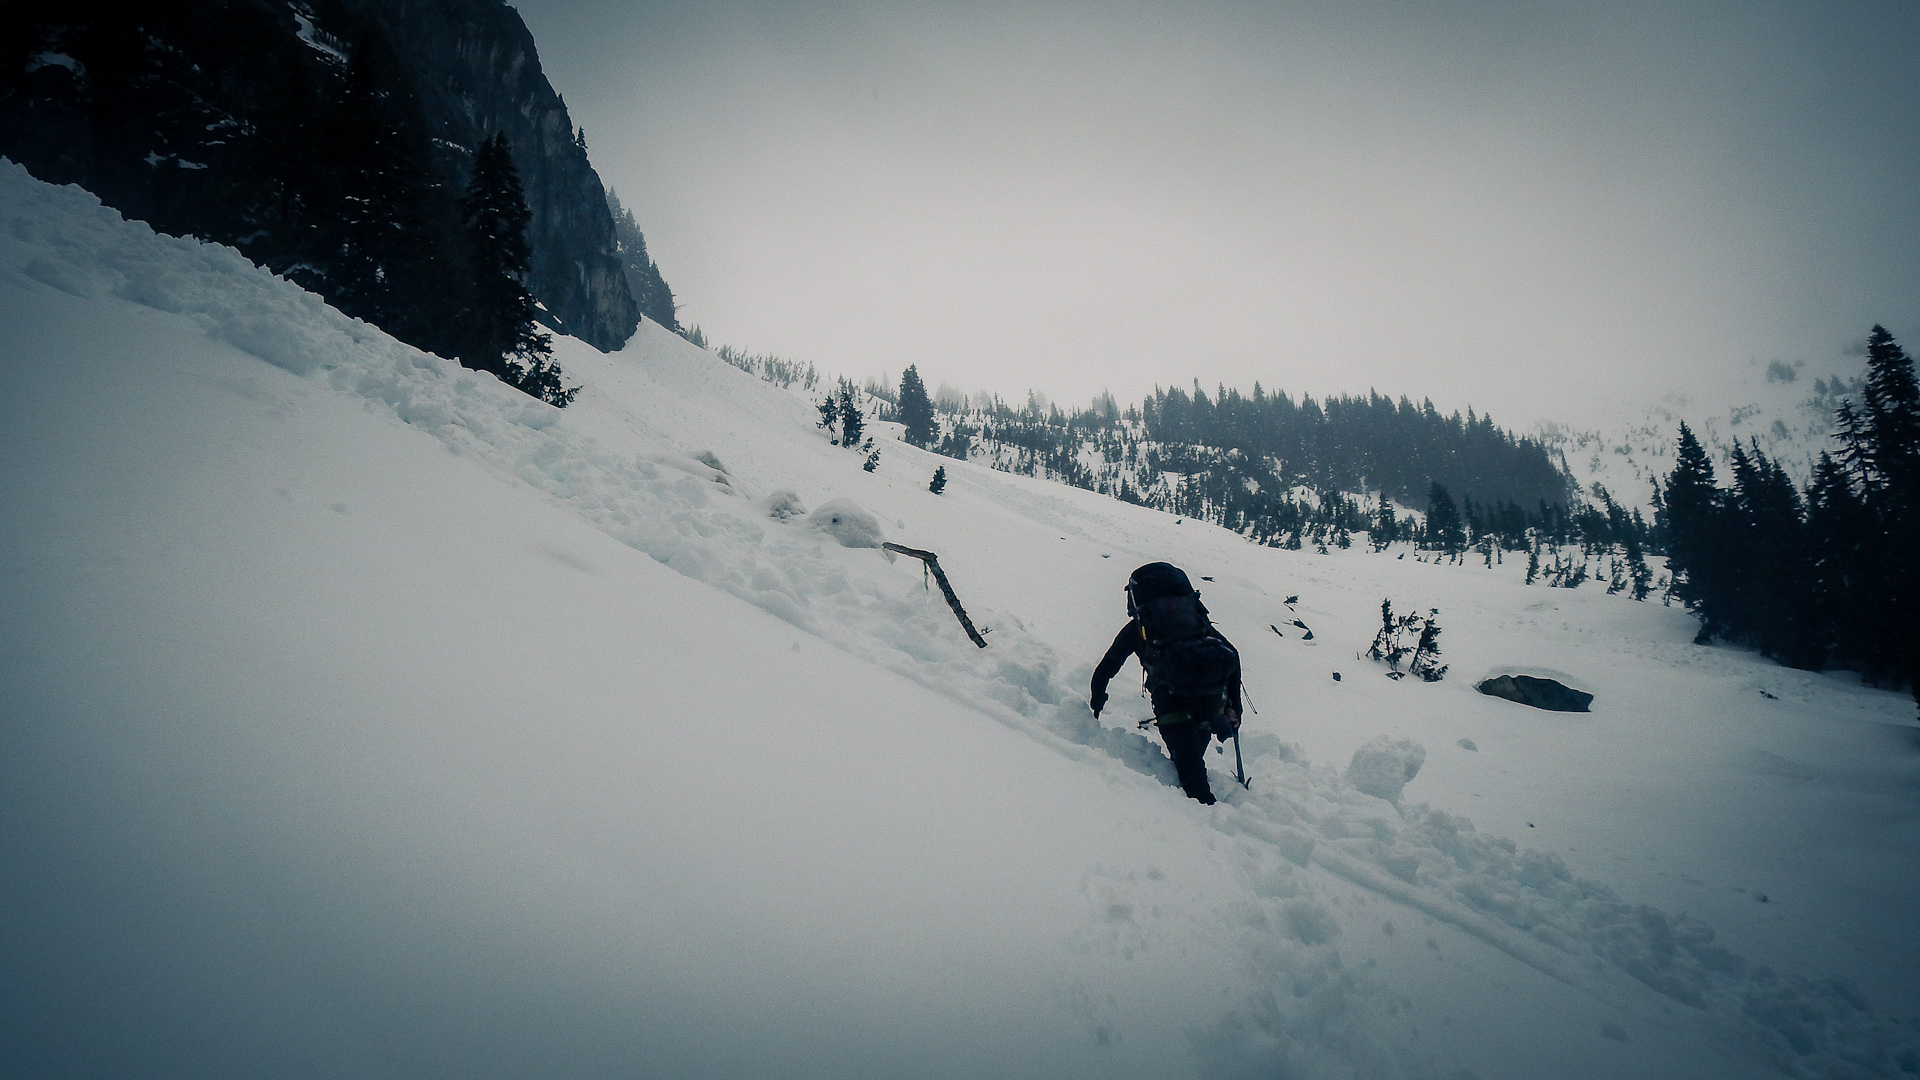
Slopes like these are where you really appreciate your gear

You can find Chinese brand 10 point crampons on Ebay for less than 40 bucks. I bought 2 pairs. They look like some $100+ models, but lack certain refinements. The front points are only about half as long as regular ones, but then again I'm not taking people up crazy steep slopes or ice. They just make walking incredibly easy, more traction for slopes, and you feel like a BAMF Mountaineer. Higher end crampons require a special boot with a front and rear lip, which my current boots lack, So I was happy to find these Chinese crampons that could be fitted to a wide range of boot sizes. I put my money in ice axes, because it’s a more crucial tool in my opinion, and I want to be able to lend some out. I currently own 3 regular axes of various length, and 2 pairs of technical axes.
Current link for the crampons I bought: Click Here
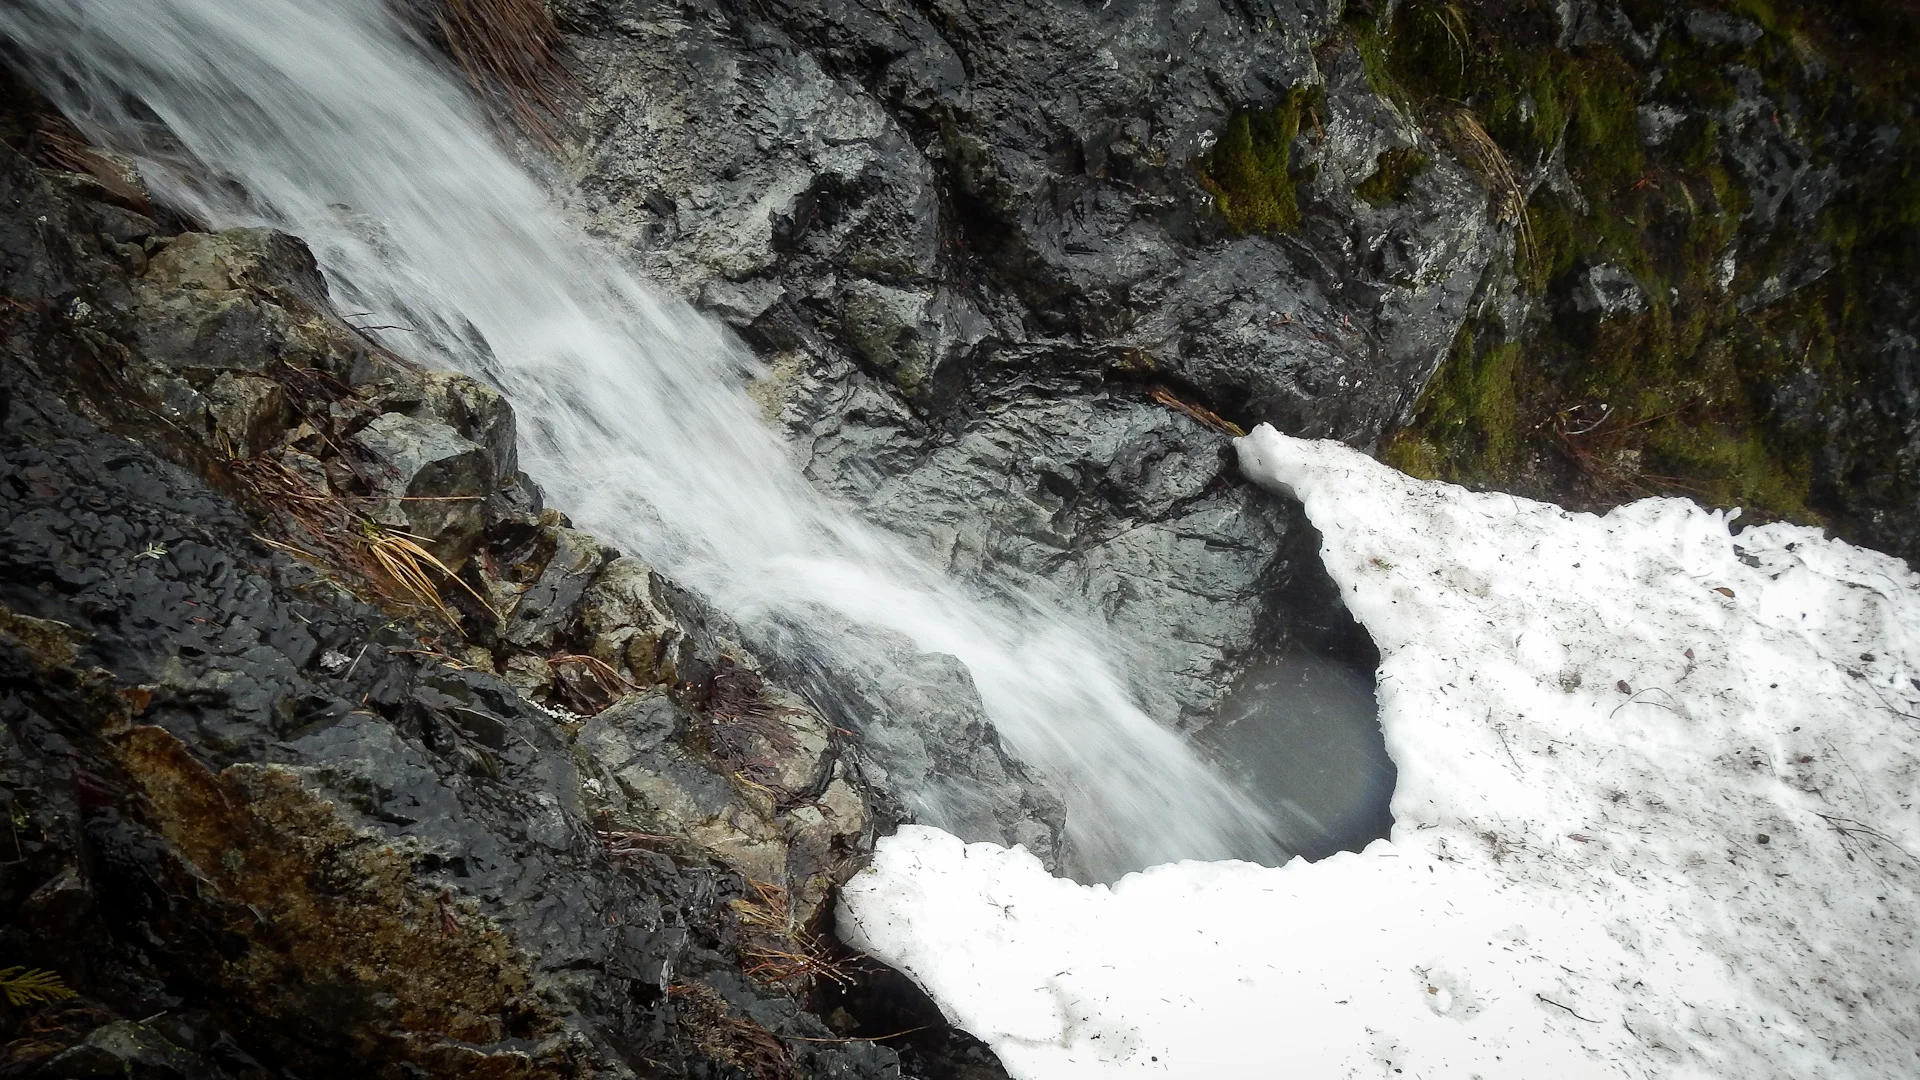
In the spring, these large moats form as the snow melts away from the rock face
Moat in the winter
ESSENTIAL GEAR:
Gaitors (No one wants snow in their boots or pants. That link is what I bought)
Ice Axe (My favorite is the Black Diamond Raven)
Crampons (Link above)
Sunglasses
Medical Kit
Whistle
Flashlight/headlamp
CAMERA
WHAT ELSE I CARRY/OPTIONAL GEAR:
Trekking poles
Food/fuel/micro stove
2x Nalgene bottles, 1 has a metal cup that fits around the base for storage.
Spare clothes (socks, hat, gloves, top and bottom base layer.
Emergency blanket and shelter
Paracord
Extra batteries
Toilet paper
Monocular
Knife
Helmet (if actual climbing/rappelling may take place or going up terrain where ice/rock fall is a possible issue)
We got a tad lost on Guye Peak last year, ended up doing multiple rappels for a faster descent.
When planning a hike, I will also include the following if there is the possibility of steeper routes, climbing, or rappelling:
Climbing harness
A bag of various slings, prussic, and a good length of tubular webbing
A few different sizes of nuts and quick draws to go with.
Rope (size and length are dictated by what we are doing.)
Rappel Package (prussics, ascender, locking carabineers, ATC Belay device, and a figure 8
Snow Picket
Nothing too insane, unlike the mountains that would require cams, ice screws, pitons, crevasse knowledge, etc for safe climbing, which I hope to do someday. The Snoqualmie area will always be able to provide a good solid days worth of hiking, in a relatively safe environment. There's plenty of shinanagins you can get yourself into.
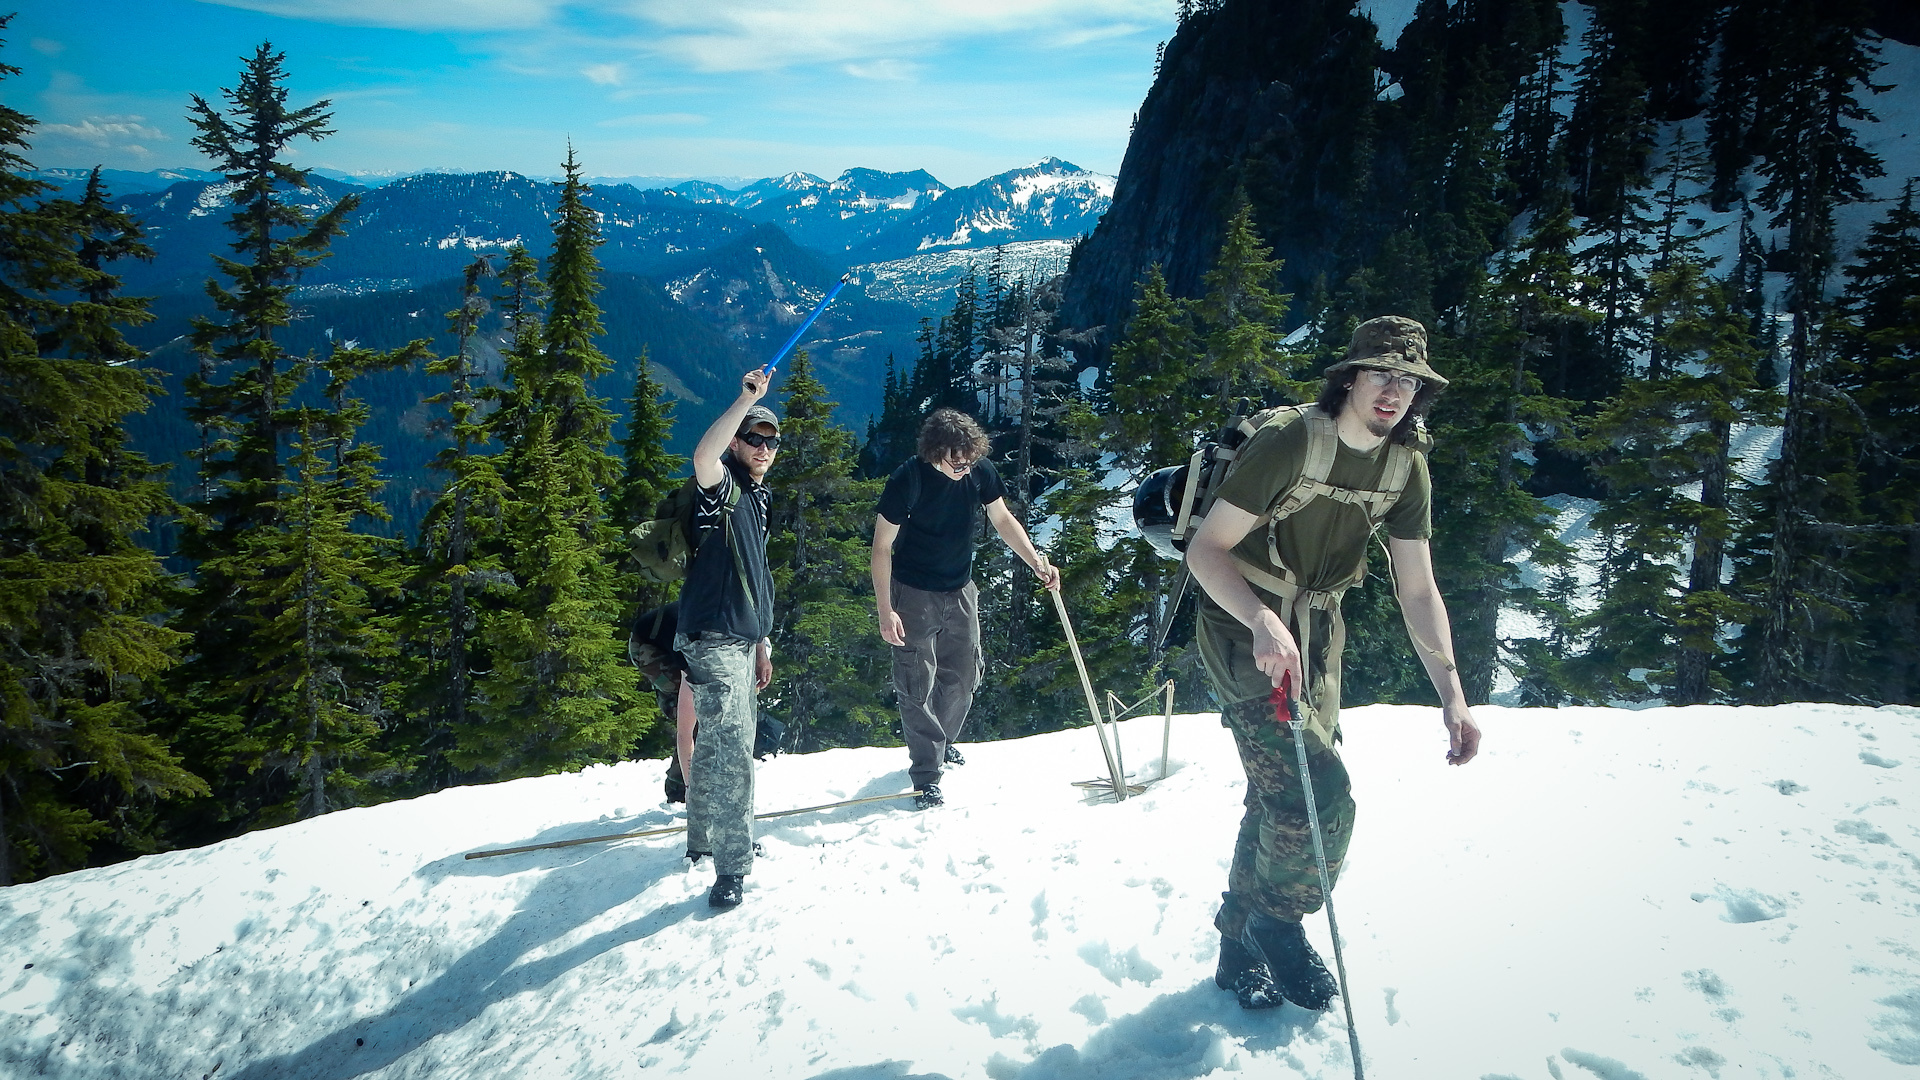
I try and pack for whatever possible dangerfull adventures we might come across, there are times where we randomly do some unnecessary rock climbing instead of taking a longer route, rappelling to get off the mountain after taking the wrong way down, but it all comes down to route planning and what everyone in the group is comfortable doing. Think you’re not ready? I took 4 people who had never been mountain climbing up Alpental, which is one of Snoqualmie’s ski areas and is very rewarding, and safe. It’s only when you start navigating the crack system at the very top to get to the peak do you become a bit exposed to the sheer drops and slopes found on mountain peaks. Common sense and endurance play a major role. If you’re not up to hiking in the winter, wait till spring. The slopes will still be covered for the most part, and you get the added benefit of it being a bit warm. Still avoid cotton, jeans, t-shirts, and sweatshirts, once you get wet from sweat you will regret it.
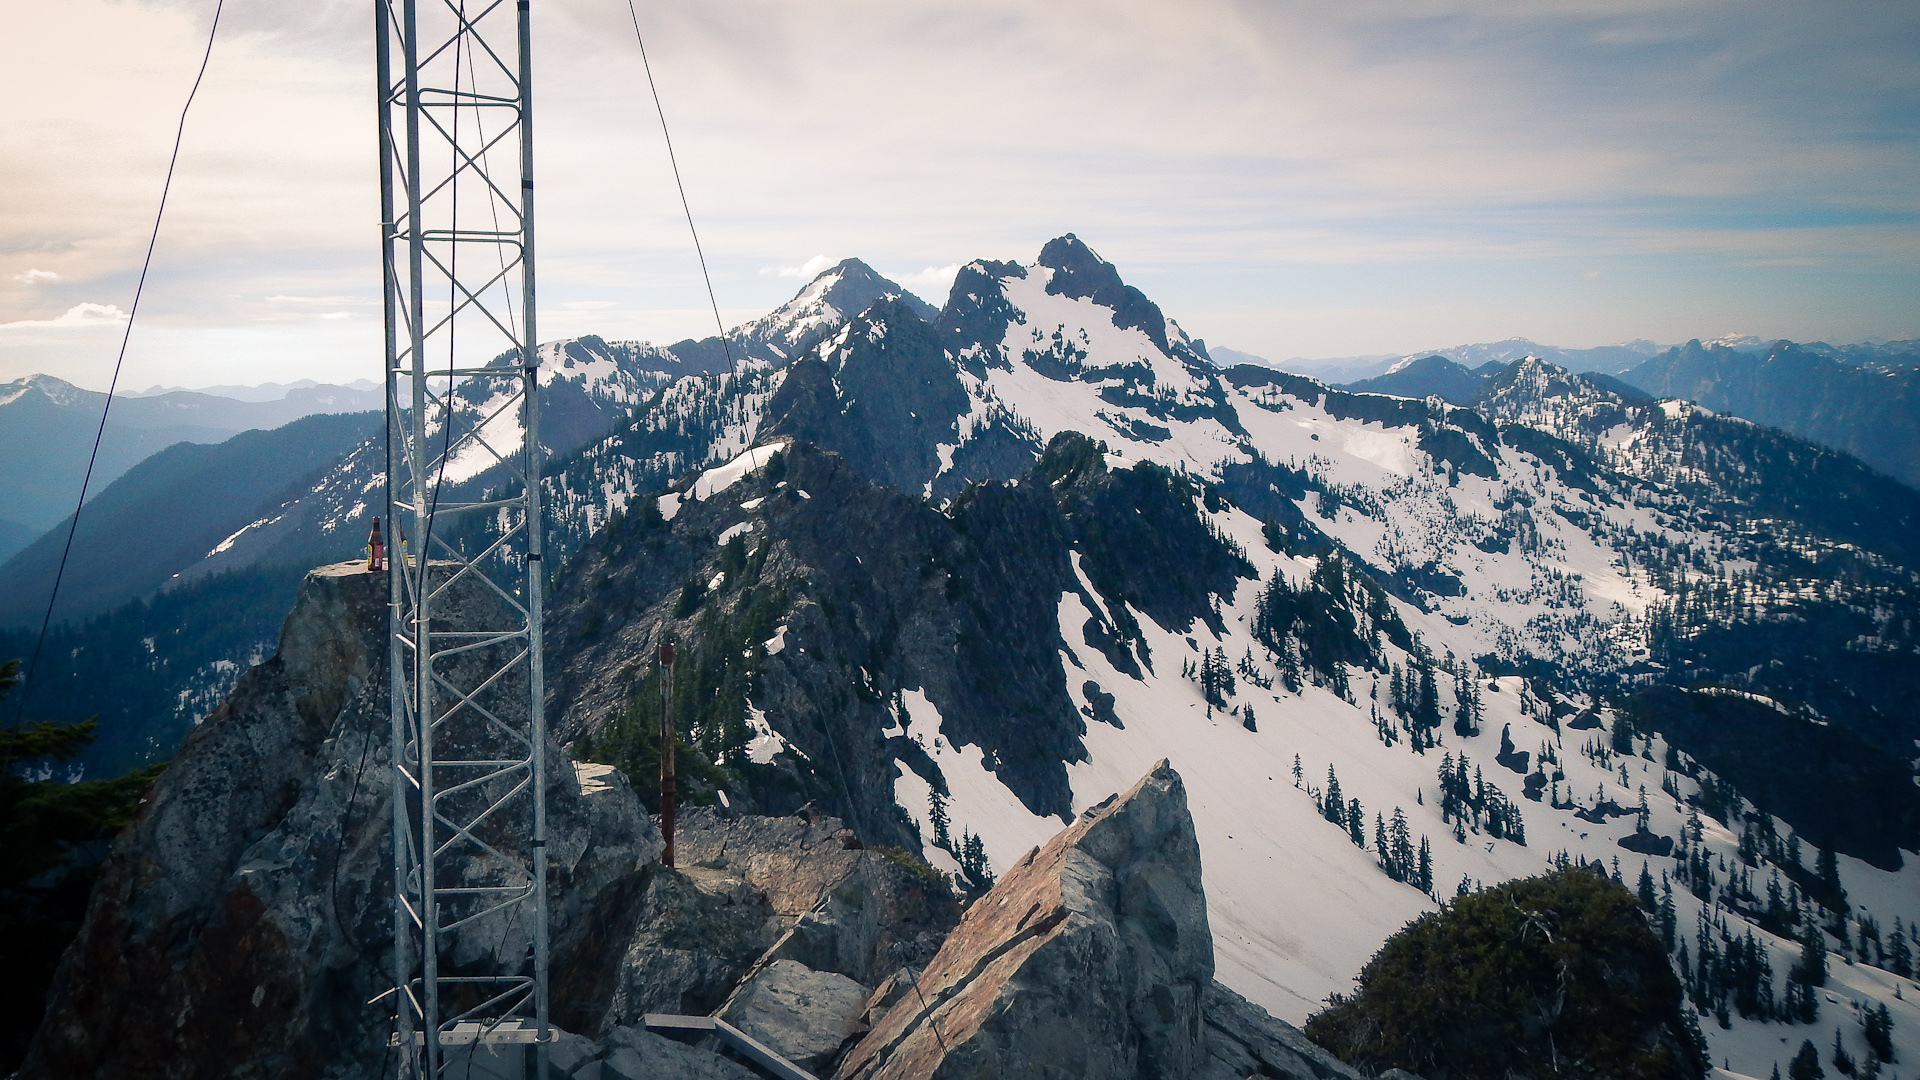
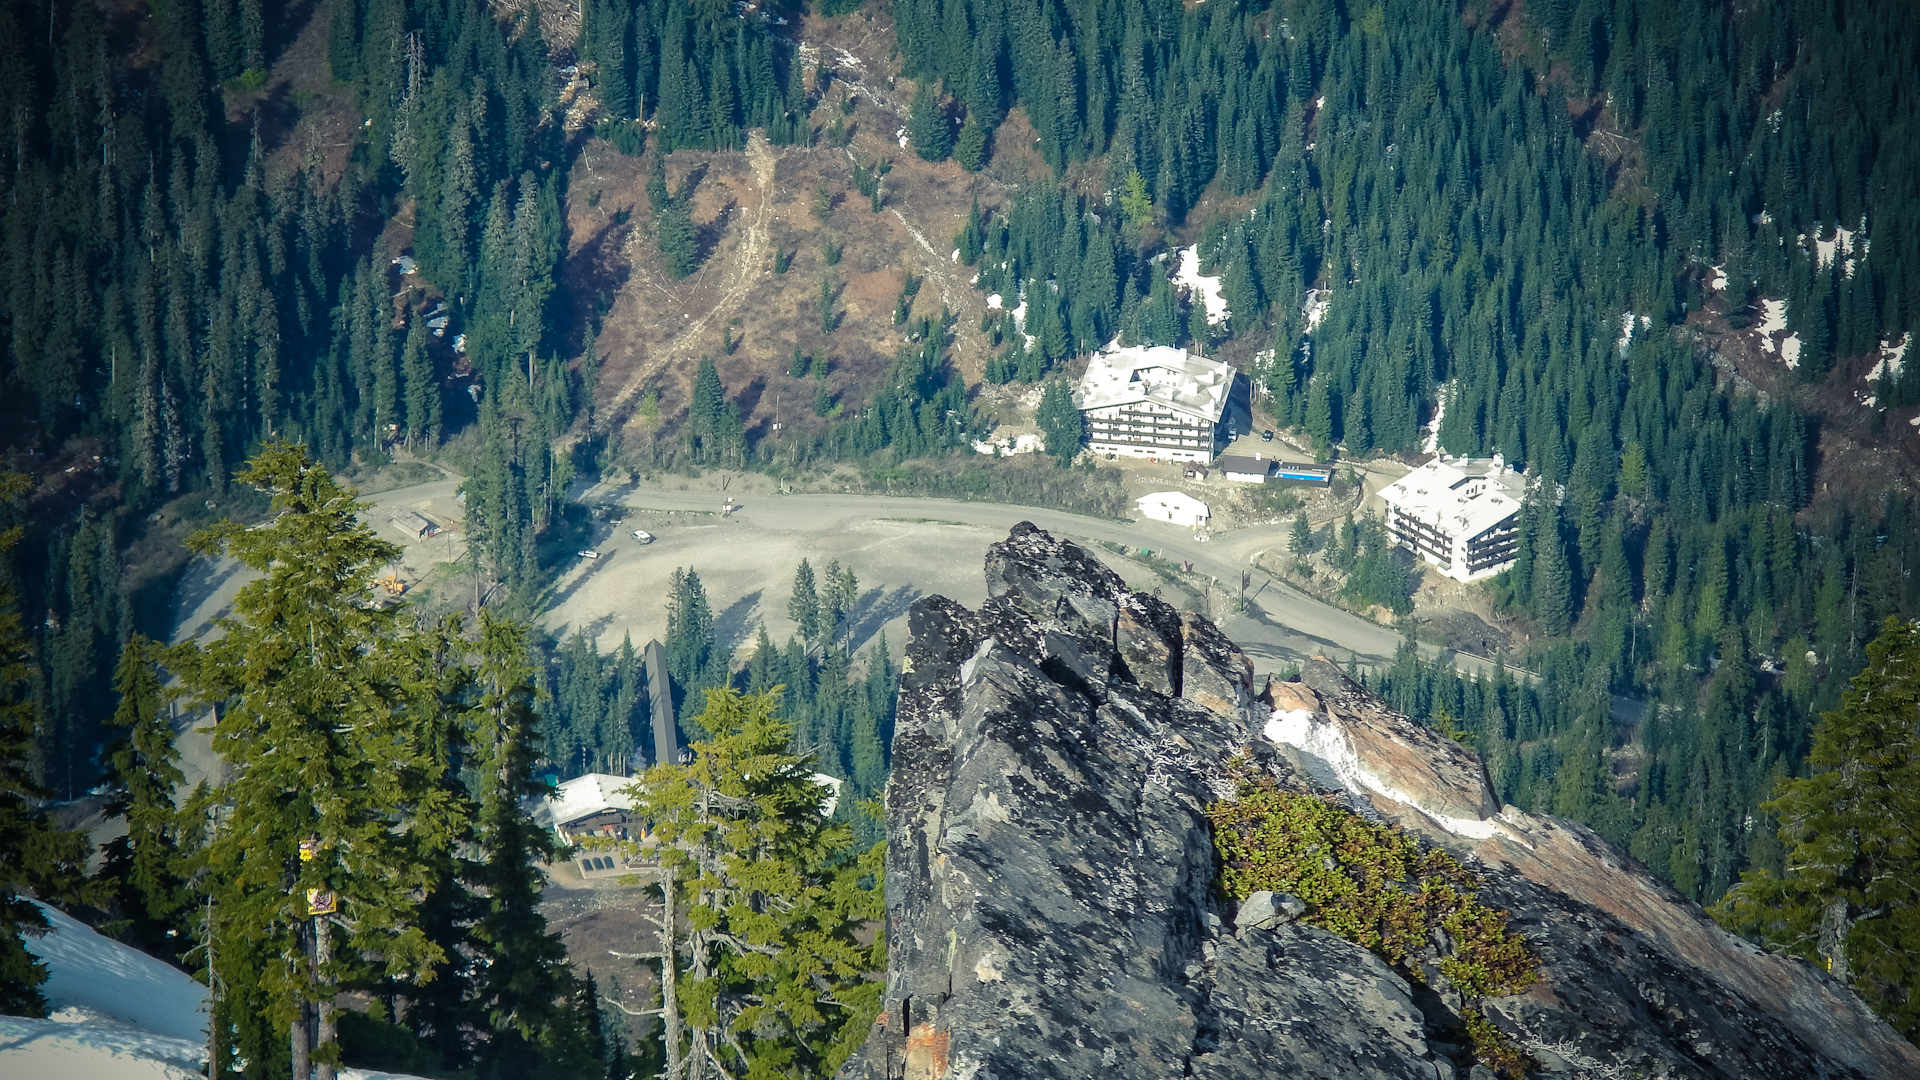
The mountains are a beautiful place to ascend, especially in the winter. I’ve never been at peace with myself as much as I have standing on the top of a mountain peak looking down at the planet. It’s always a surreal accomplishment and that’s what keeps me going back; the friends, the views, the challenges, and the resulting photos.
If you have any questions where I bought any of the above, or what you should be looking at, feel free to get at me. I’ve become pretty proficient in finding a cheaper alternatives to certain brand name items. Example: Almost bought a pair of gaiters for $60, found a pair online that worked incredibly well for $12 shipped. $40 crampons? Thanks China. Sometimes you gotta take a chance and try some cheap crap out that turns out working great. I've done it a bunch.